DIY Tips for Preparing Your Soil for Spring Planting


Understanding Your Soil Type
Before diving into soil preparation, it's crucial to understand the type of soil you have. Soil can be sandy, clay, silt, or a mix of these. A simple way to test your soil is by taking a handful, moistening it, and squeezing it. If it crumbles easily, it's sandy; if it holds its shape, it's clay; and if it's somewhere in between, it's likely silt.
Identifying your soil type helps determine the amendments needed to optimize it for planting. For instance, sandy soils may require more organic matter to improve water retention, while clay soils might need aeration and sand to enhance drainage.

Clearing and Cleaning the Area
Once you've identified your soil type, the next step is to clear the area of debris such as rocks, sticks, and old plant material. Removing these obstacles ensures that your plants have unobstructed access to nutrients and space to grow.
Additionally, clear away any weeds that could compete with your plants for nutrients and water. A thorough cleaning sets a solid foundation for the health of your garden.
Testing and Amending the Soil
Testing your soil's pH and nutrient levels is essential for understanding what amendments are needed. You can purchase a soil test kit from a garden center or send a sample to a local extension service.
Based on the results, you may need to add lime to raise the pH or sulfur to lower it. Adding organic matter like compost or well-rotted manure can improve soil structure and fertility, enhancing plant growth.

Tilling and Aerating the Soil
Tilling the soil helps break up compacted areas, allowing roots to penetrate more easily. Use a tiller or a garden fork to turn the soil to a depth of about 12 inches. Be mindful not to over-till, as this can damage soil structure.
Aeration improves air circulation and water drainage. This is especially important for clay soils, which can become compacted more easily. After tilling, consider adding coarse sand or perlite to further enhance aeration.
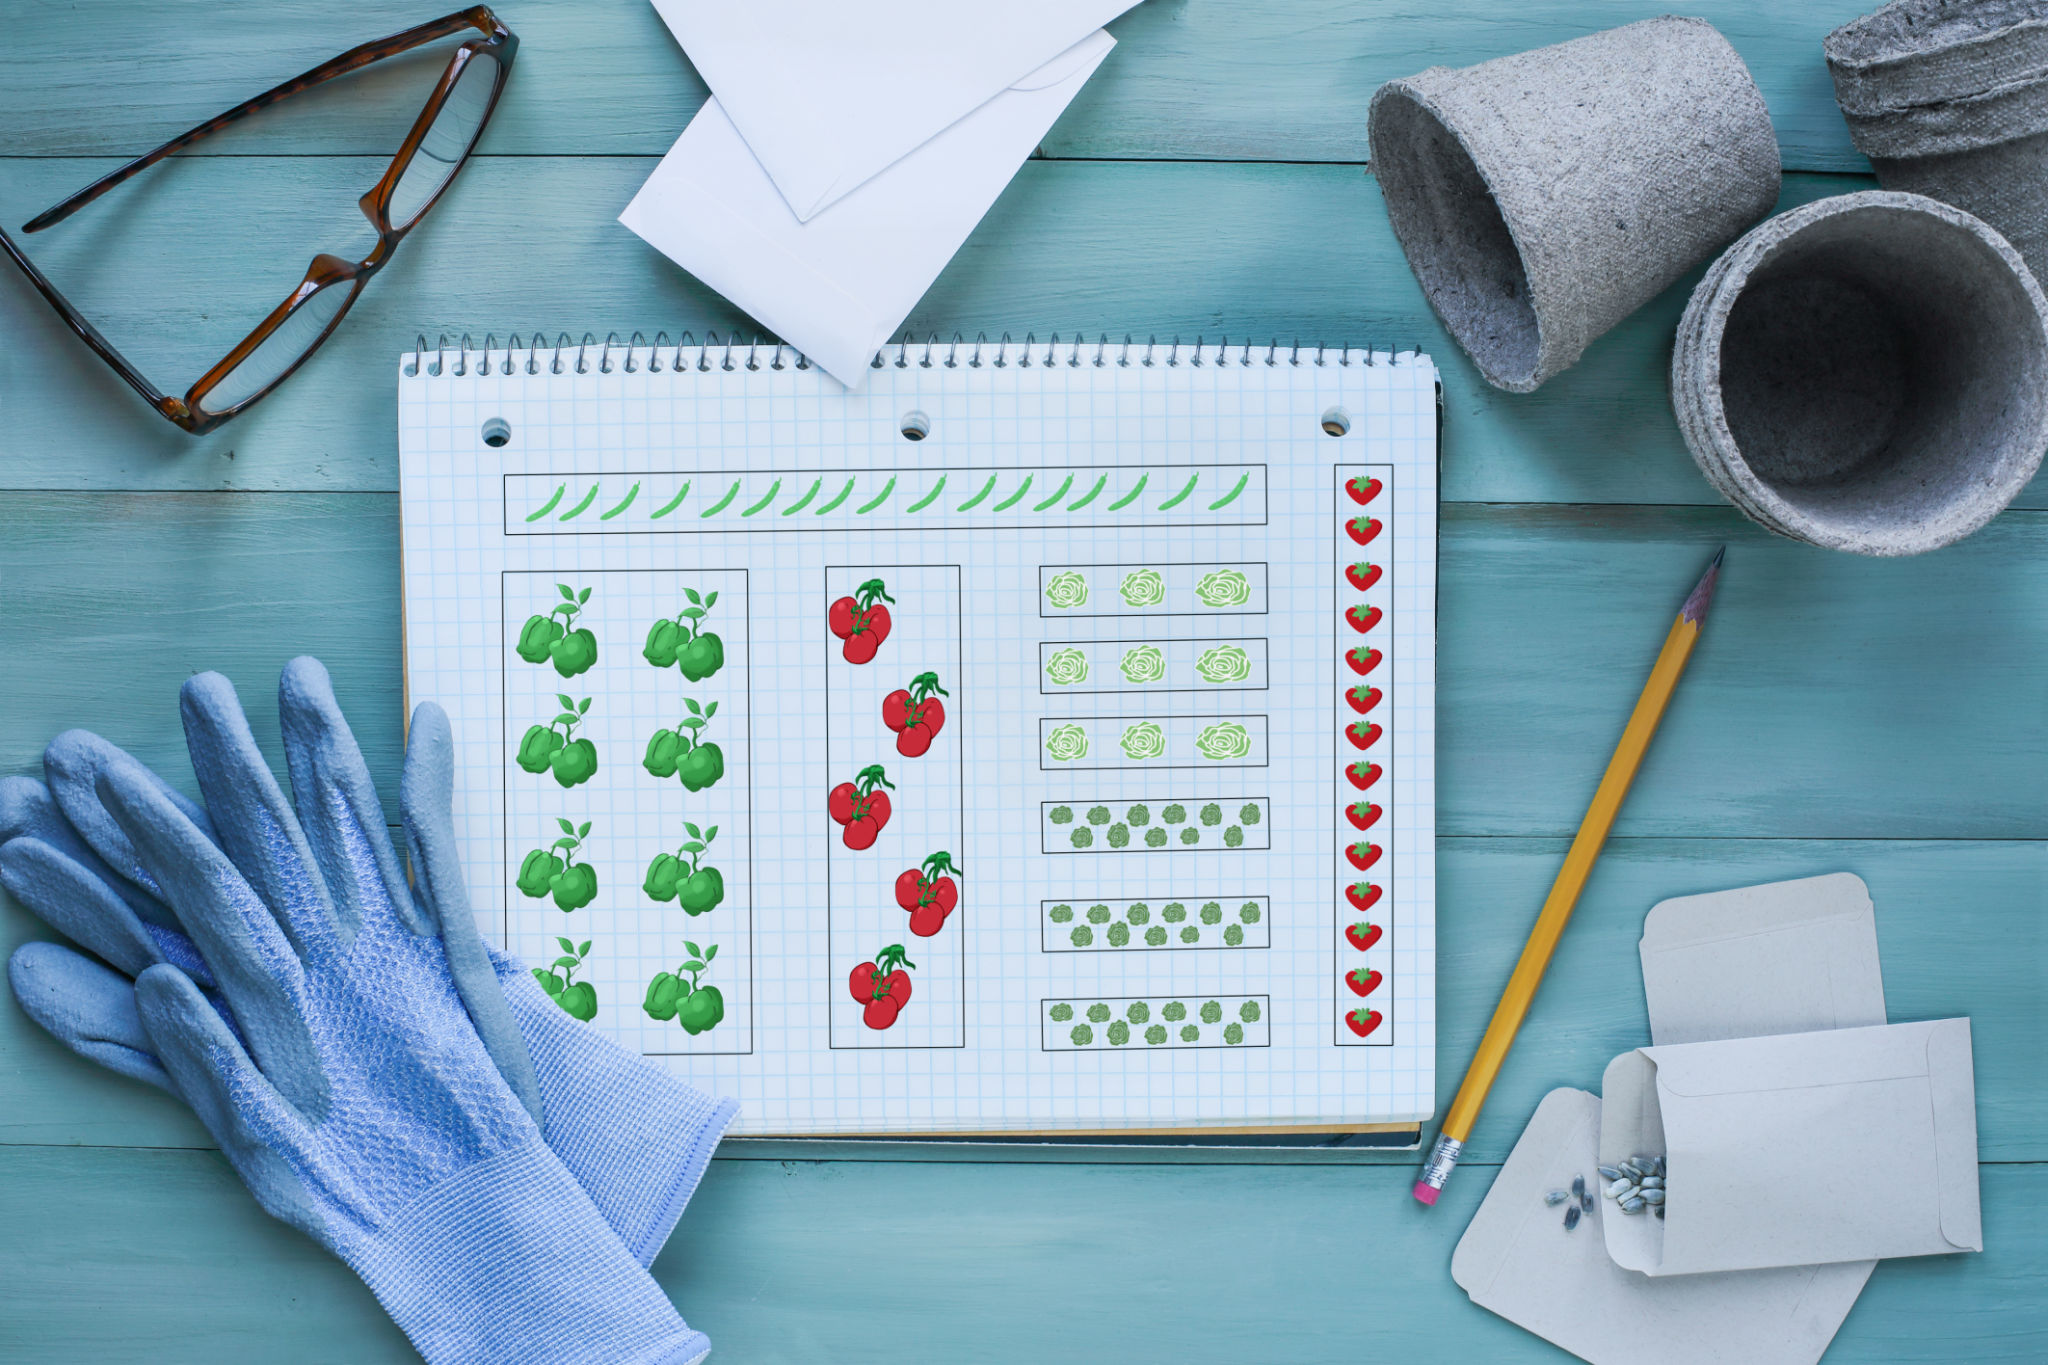
Creating a Planting Plan
With your soil prepared, it's time to plan your garden layout. Consider the sunlight and space requirements of each plant. Grouping plants with similar needs can simplify care and improve yields.
Companion planting can also be beneficial. Some plants, when grown together, can support each other's growth and deter pests. Research compatible plant pairings to maximize your garden's productivity.
Mulching and Watering
Mulching is a critical step in soil preparation. A layer of organic mulch, such as straw or wood chips, helps retain moisture, suppress weeds, and regulate soil temperature. Apply a 2-3 inch layer around your plants, being careful not to cover the stems.
Regular watering is essential, especially in the early stages of plant growth. Ensure your garden receives about an inch of water per week, either from rainfall or supplemental irrigation.
Monitoring and Adjusting
As your garden grows, monitor the plants and soil for signs of nutrient deficiencies or pest issues. Early intervention can prevent problems from escalating.
Be prepared to adjust your care routine as needed. This may include adding more compost, adjusting watering schedules, or rotating crops to maintain soil health.
Conclusion
Preparing your soil for spring planting is an essential step towards a successful gardening season. By understanding your soil type, testing and amending it, and following best practices for planting and maintenance, you can create a thriving garden. Remember, healthy soil leads to healthy plants, so invest the time and effort now for a bountiful harvest later.